WPNotif has integration with Twilio WhatsApp Business API which is one of the cheapest in the market and provides a Pay-as-you-go solution. Integrating WhatsApp Business API is pretty easy but still, you can follow the below steps to make sure you don’t miss anything.
Request WhatsApp Business API Access
To start using WhatsApp Business API you first need to request its access from Twilio by filling a form on their website, this is a requirement from Whatsapp’s end itself.
- Visit https://www.twilio.com/whatsapp/request-access
- Fill the form with all the information asked and submit it.
- Twilio will contact you soon with the access.
Setting Up Twilio WhatsApp Business API
Once Twilio provides your account access to WhatsApp Business API after following the above steps, you can proceed further with the below-mentioned steps and set it up.
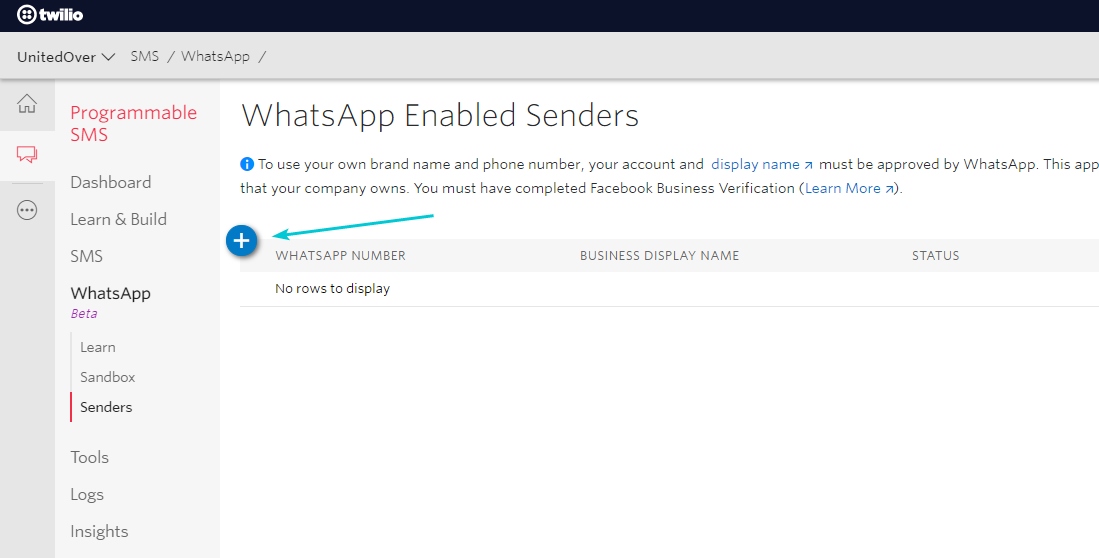
- Go to Programmable SMS –> WhatsApp –> Senders and click on the + icon
- Fill out the form with all required details and
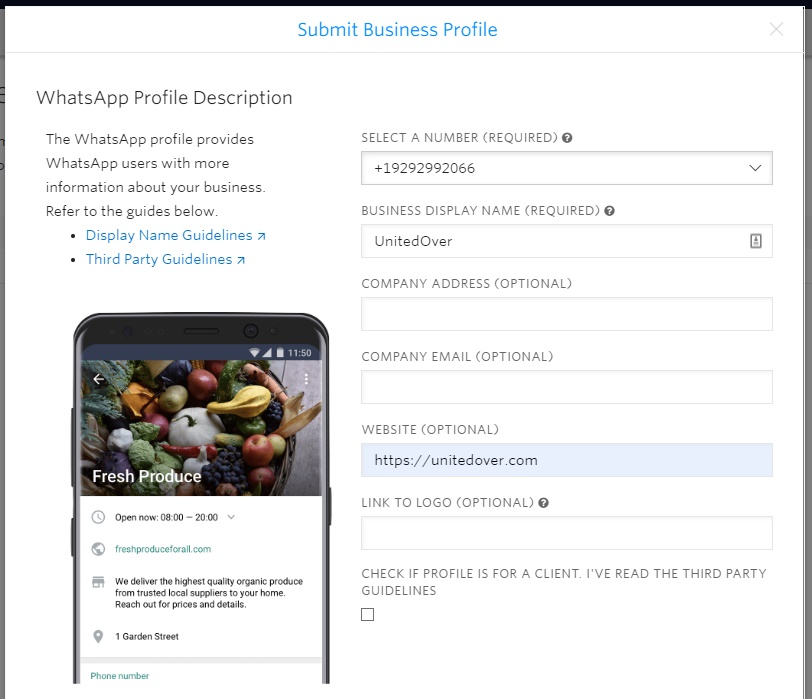
If you don’t have a number to select in your profile then click on buy number, proceed with buying and return to this step. You can follow this article on How to Search for and Buy a Twilio Phone Number from Console
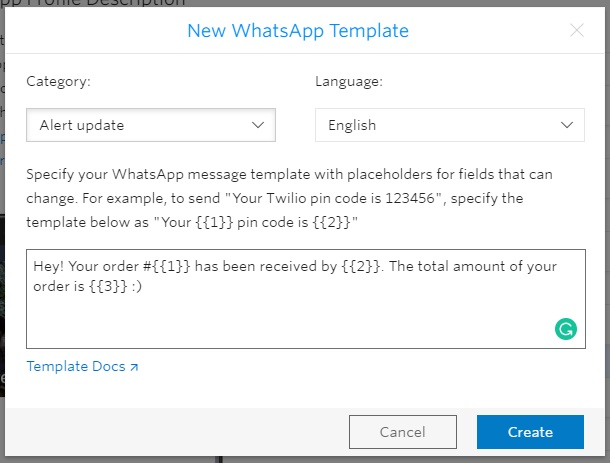
- Once the above form is filled, scroll below to add the message templates, click on Create Template
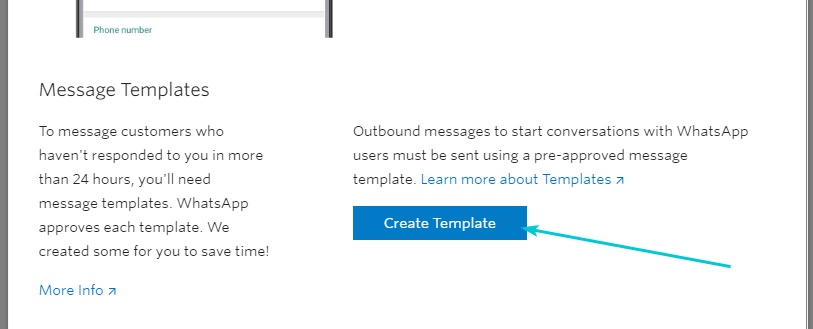
- Copy the message template you want to use from WPNotif settings on your WordPress website and paste it on Twilio panel and now replace all our shortcodes with {{1}}, {{2}} and so on. Note: You just need to replace the placeholders for Twilio website settings, leave all the placeholders in WPNotif settings as it is.
So, for example
Template in WPNotif settings
Hey! Your order #{{wc-order}} has been received by {{sitename}}. The total amount of your order is {{wc-order-amount}} :)will become
Template for Twilio settings
Hey! Your order #{{1}} has been received by {{2}}. The total amount of your order is {{3}} :)Repeat this step for all the templates you want to add.
- Once all the templates are added, click on Submit Request. Once the templates are approved you can start sending messages via WhatsApp Business API.